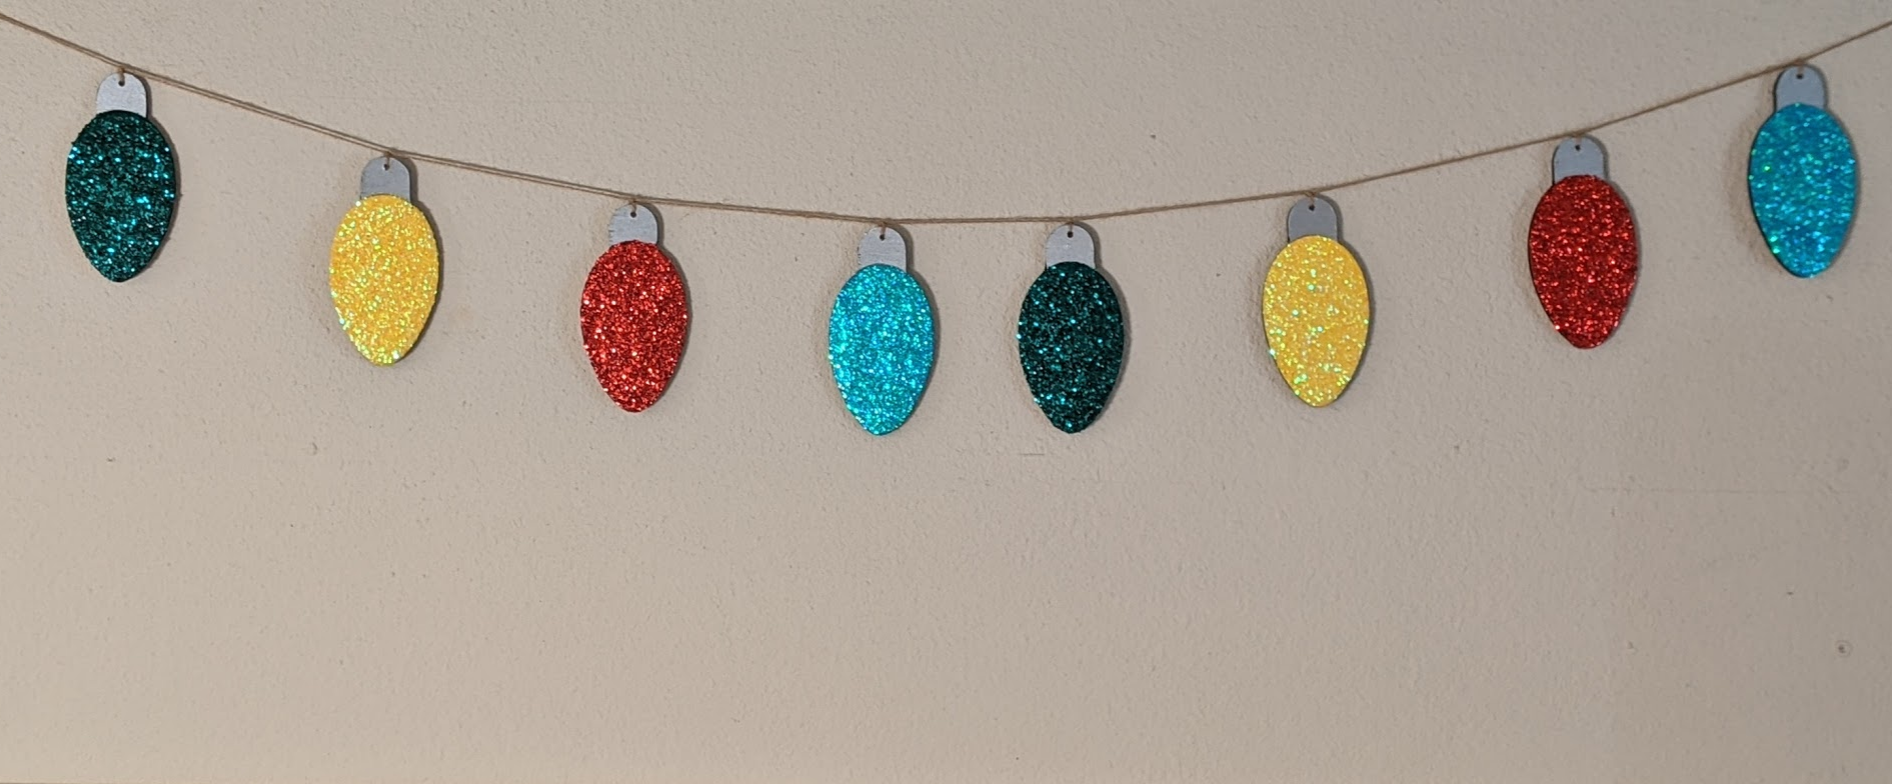
Christmas Light Garland
I created my own Christmas decorations that will last for years to come, deciding to make a garland of oversized Christmas lights.
Design Decisions
- Simulate an illumination effect with glitter
- Seal in the glitter so it doesn’t rub off everywhere
Materials
- 1 x 2ft x 4ft piece of 1/4in plywood
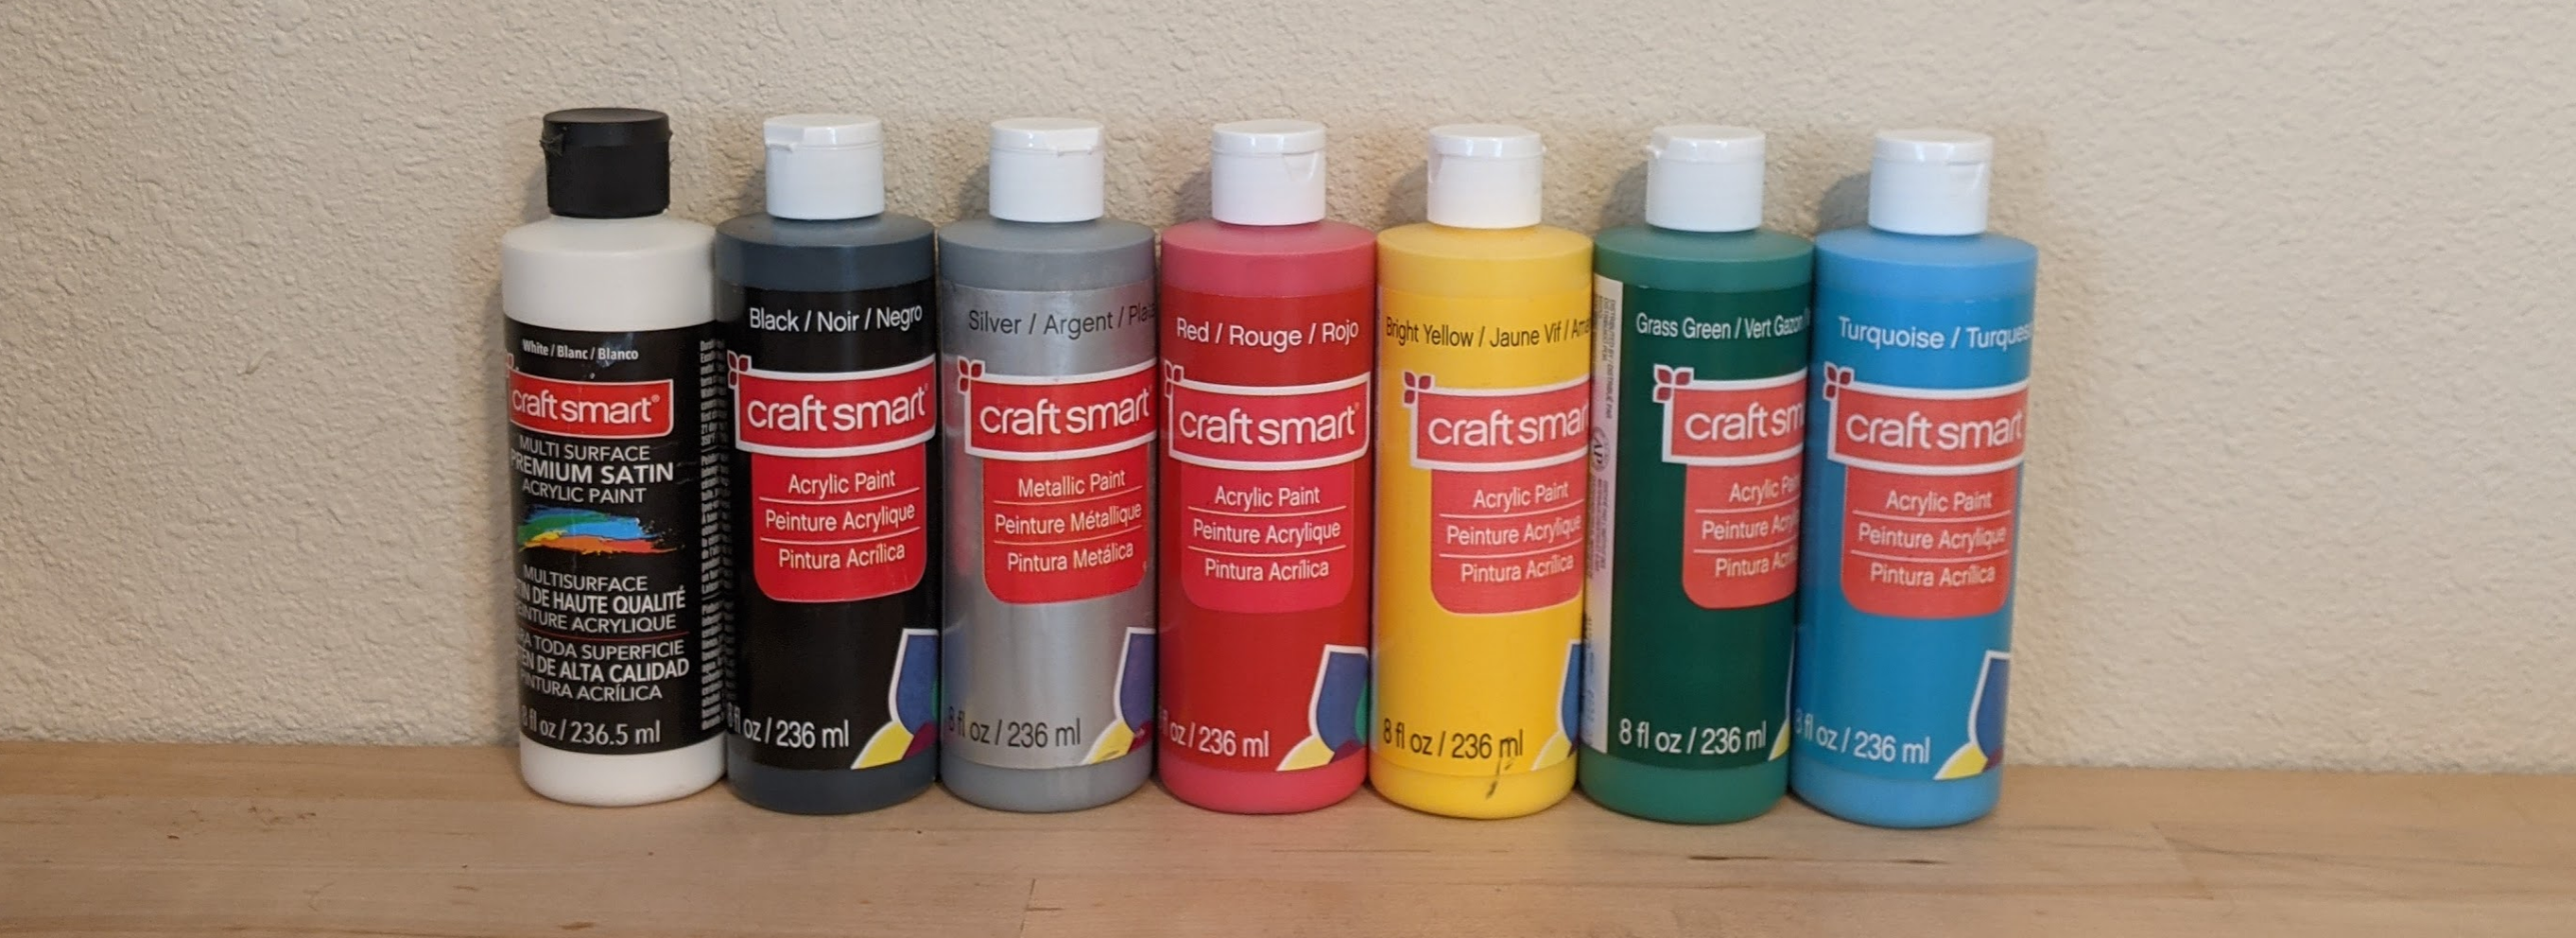
- Paint (acrylic paint by craft smart in white, black, metallic silver, red, yellow, green, turquoise)
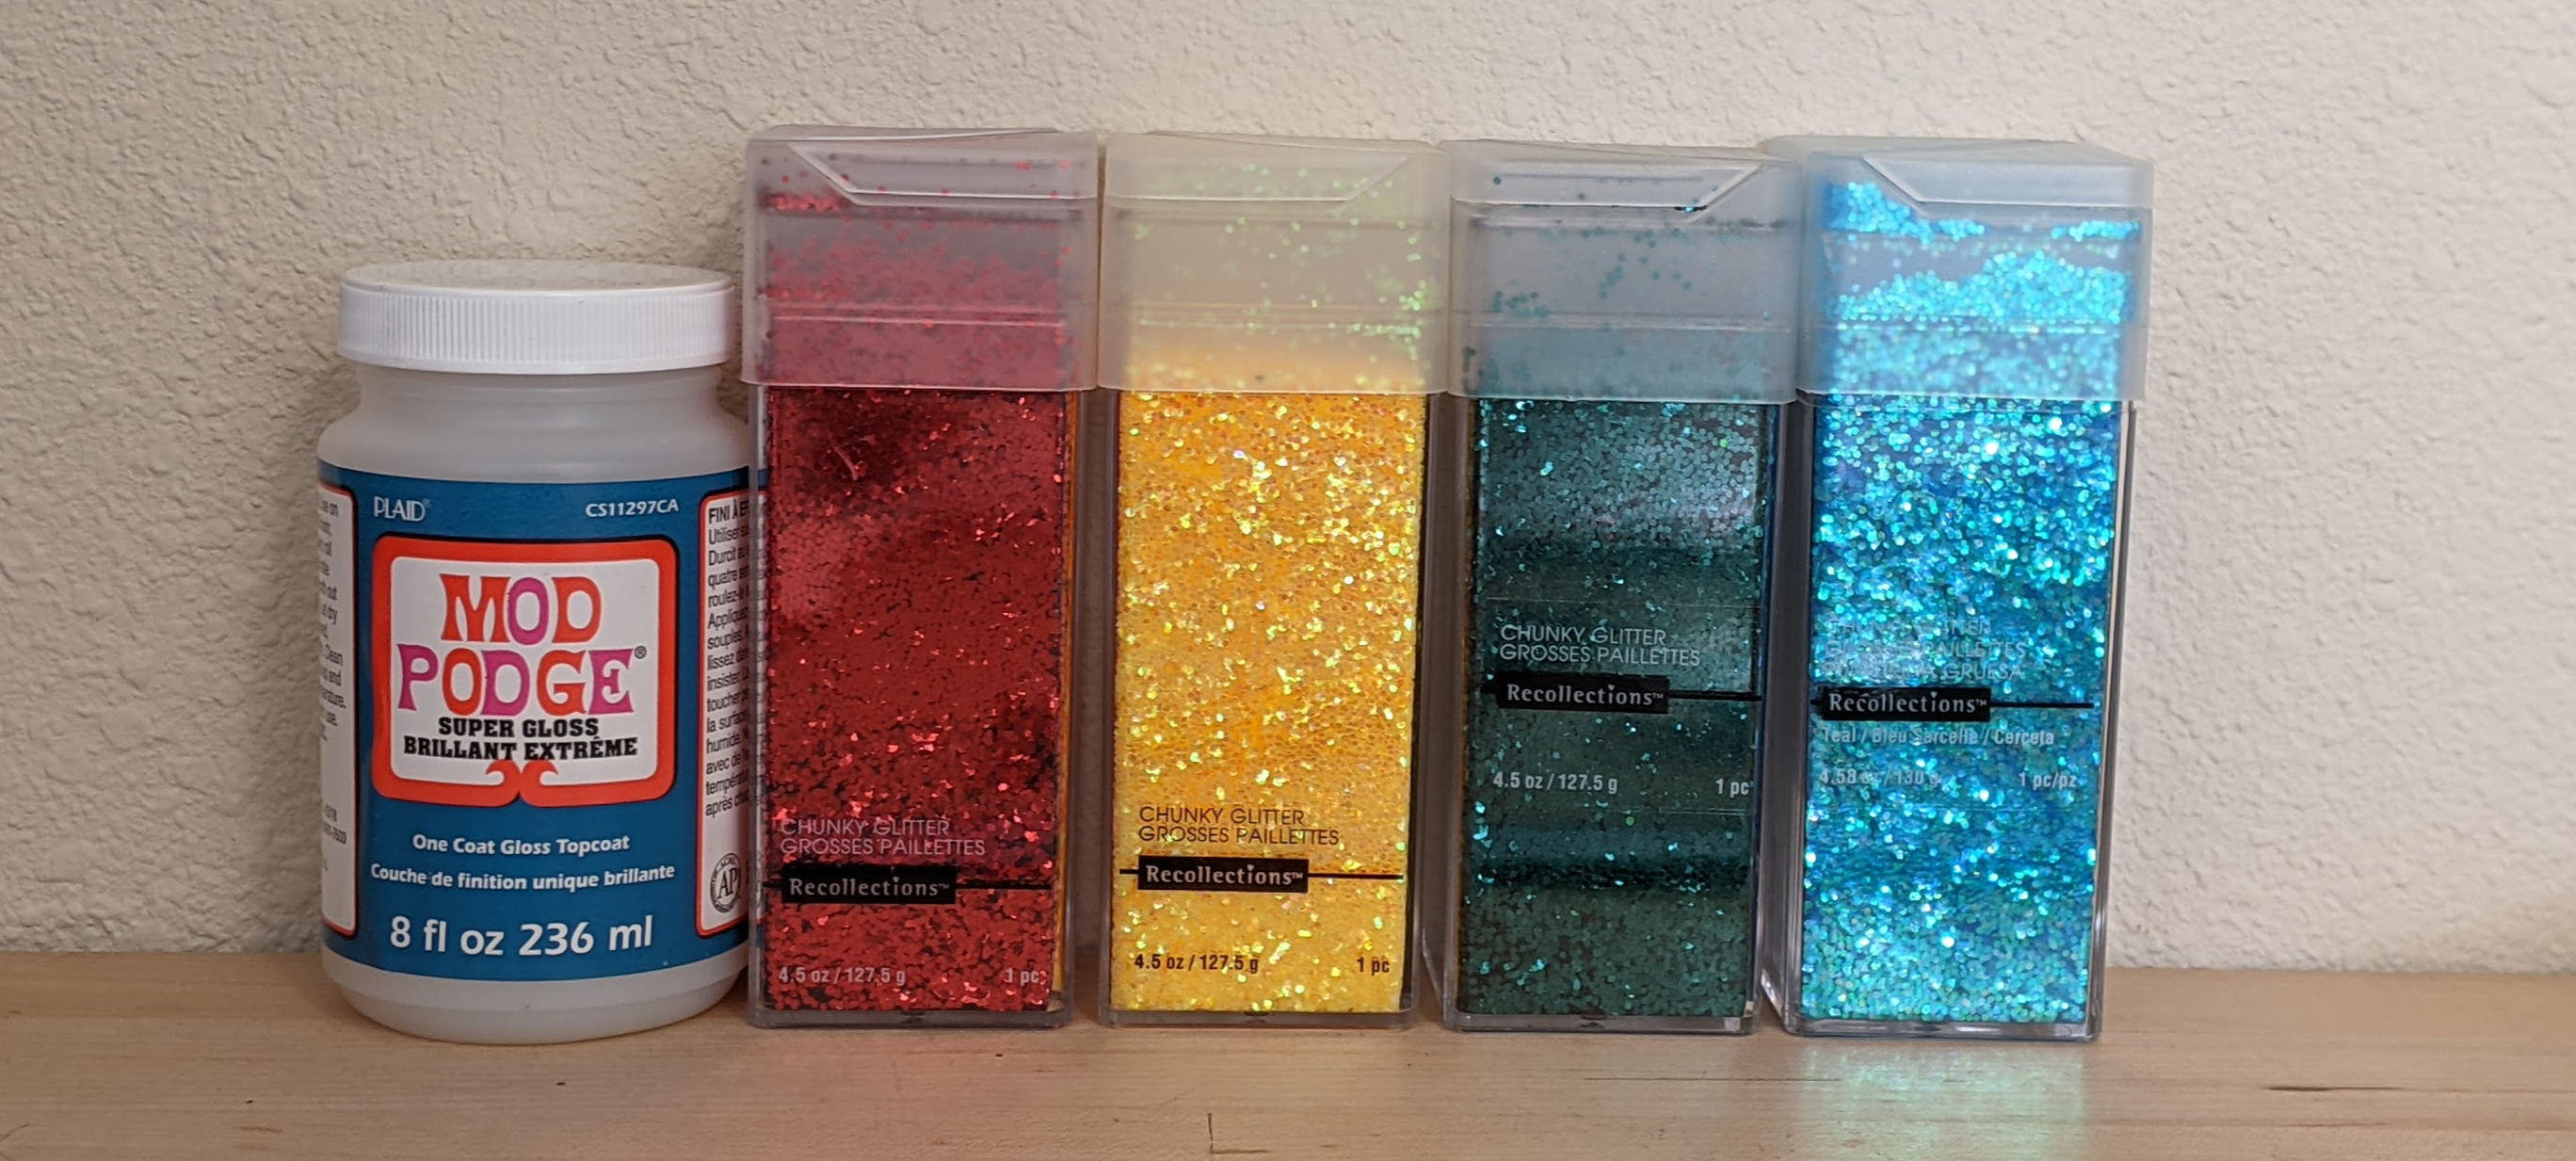
- Super Gloss Mod Podge
- Glitter (chunky glitter by Recollections in red, lemon, pine, and teal)
Tools
- Shaper Origin
- 1/4in upcut bit
- 1/8in upcut bit
- Engraving bit
- Paint brushes of varying sizes
- Paint trays
- Plastic spoon
- 2mm twine
Resources
- Noun Project - link
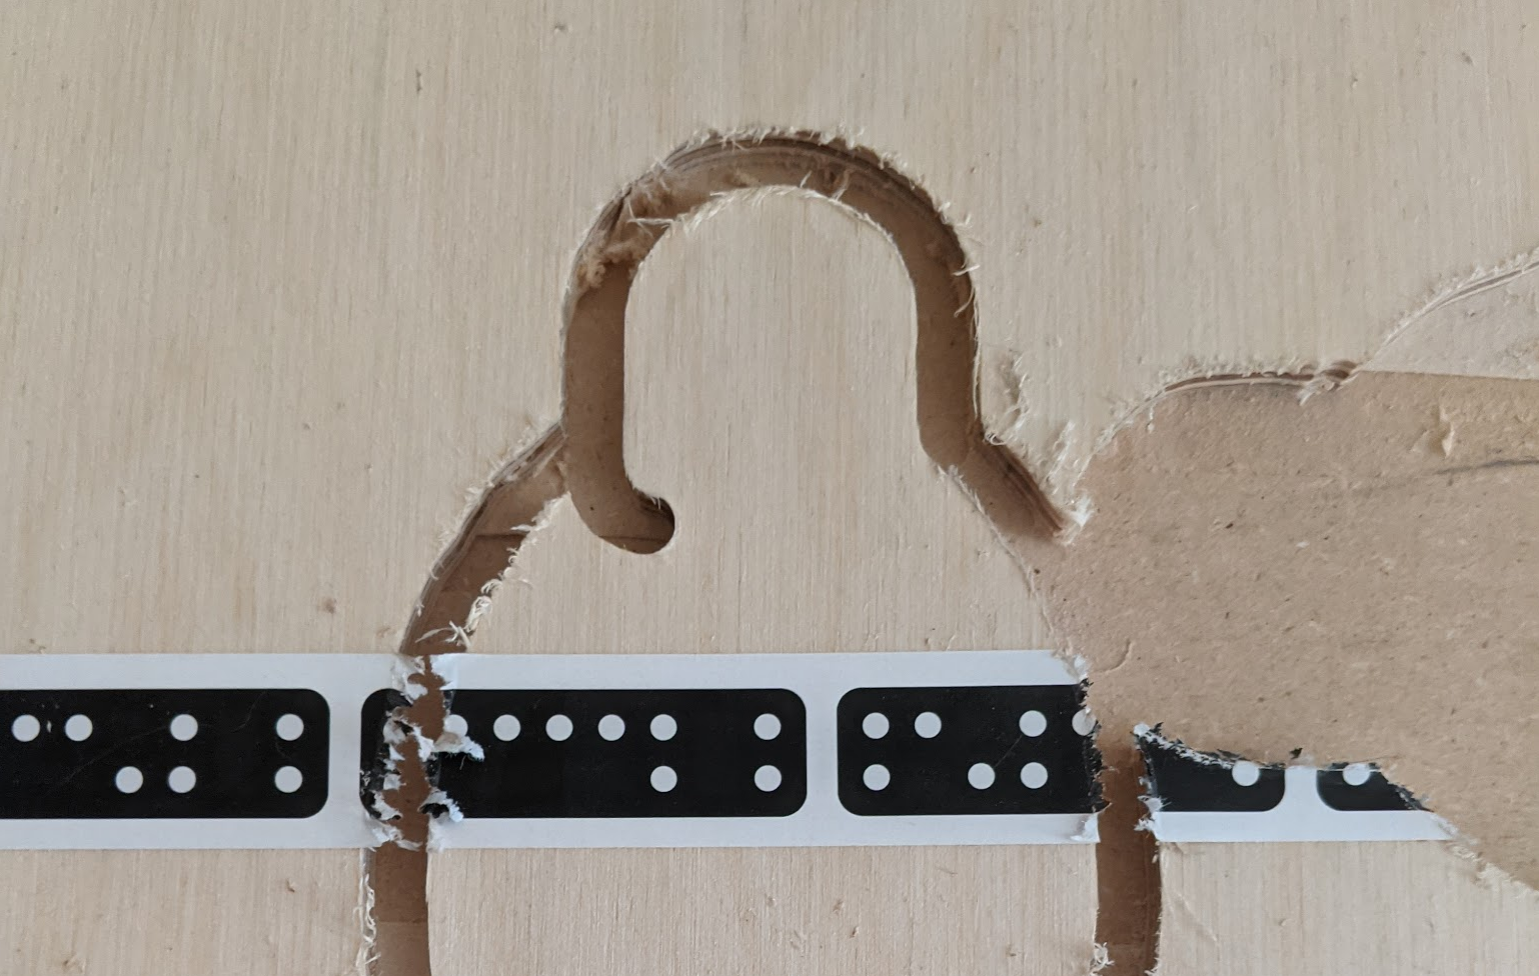
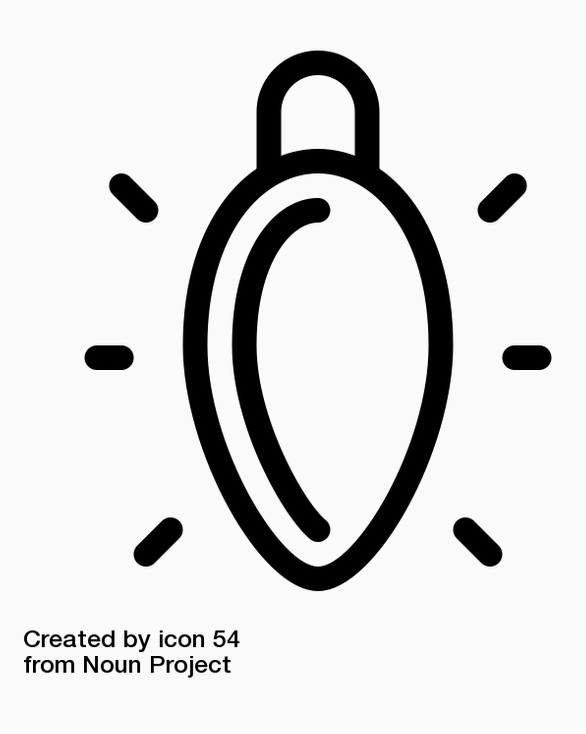
I enjoy using icons that are available on Noun Project, because they can be downloaded as an SVG file, the file format Shaper Origin accepts for cutting out designs. I purchased and used this icon by icon 54. I wanted to enjoy these as soon as possible, so I did not edit the design file to simplify my cutting experience. Instead, I played routing hopscotch - jumping around between multiple cut paths.
Cutting Workflow
- Map a 1/4in square grid using Shaper Origin so the center line running the length of the bulb was lined up on the grid (this will help with a later cutting step).
- Import SVG file, and scale up to be 5 inches tall, using the scaling option on Shaper Origin.
- Place SVG file so that center line running the length of the bulb is on a grid line (see Step 1).
- Using on-tool CAD capabilities on Shaper Origin, place a 4mm diameter circle towards the end of the cap - this will be the stringing hole, as seen below, denoted as the light green circle on Origin’s screen.
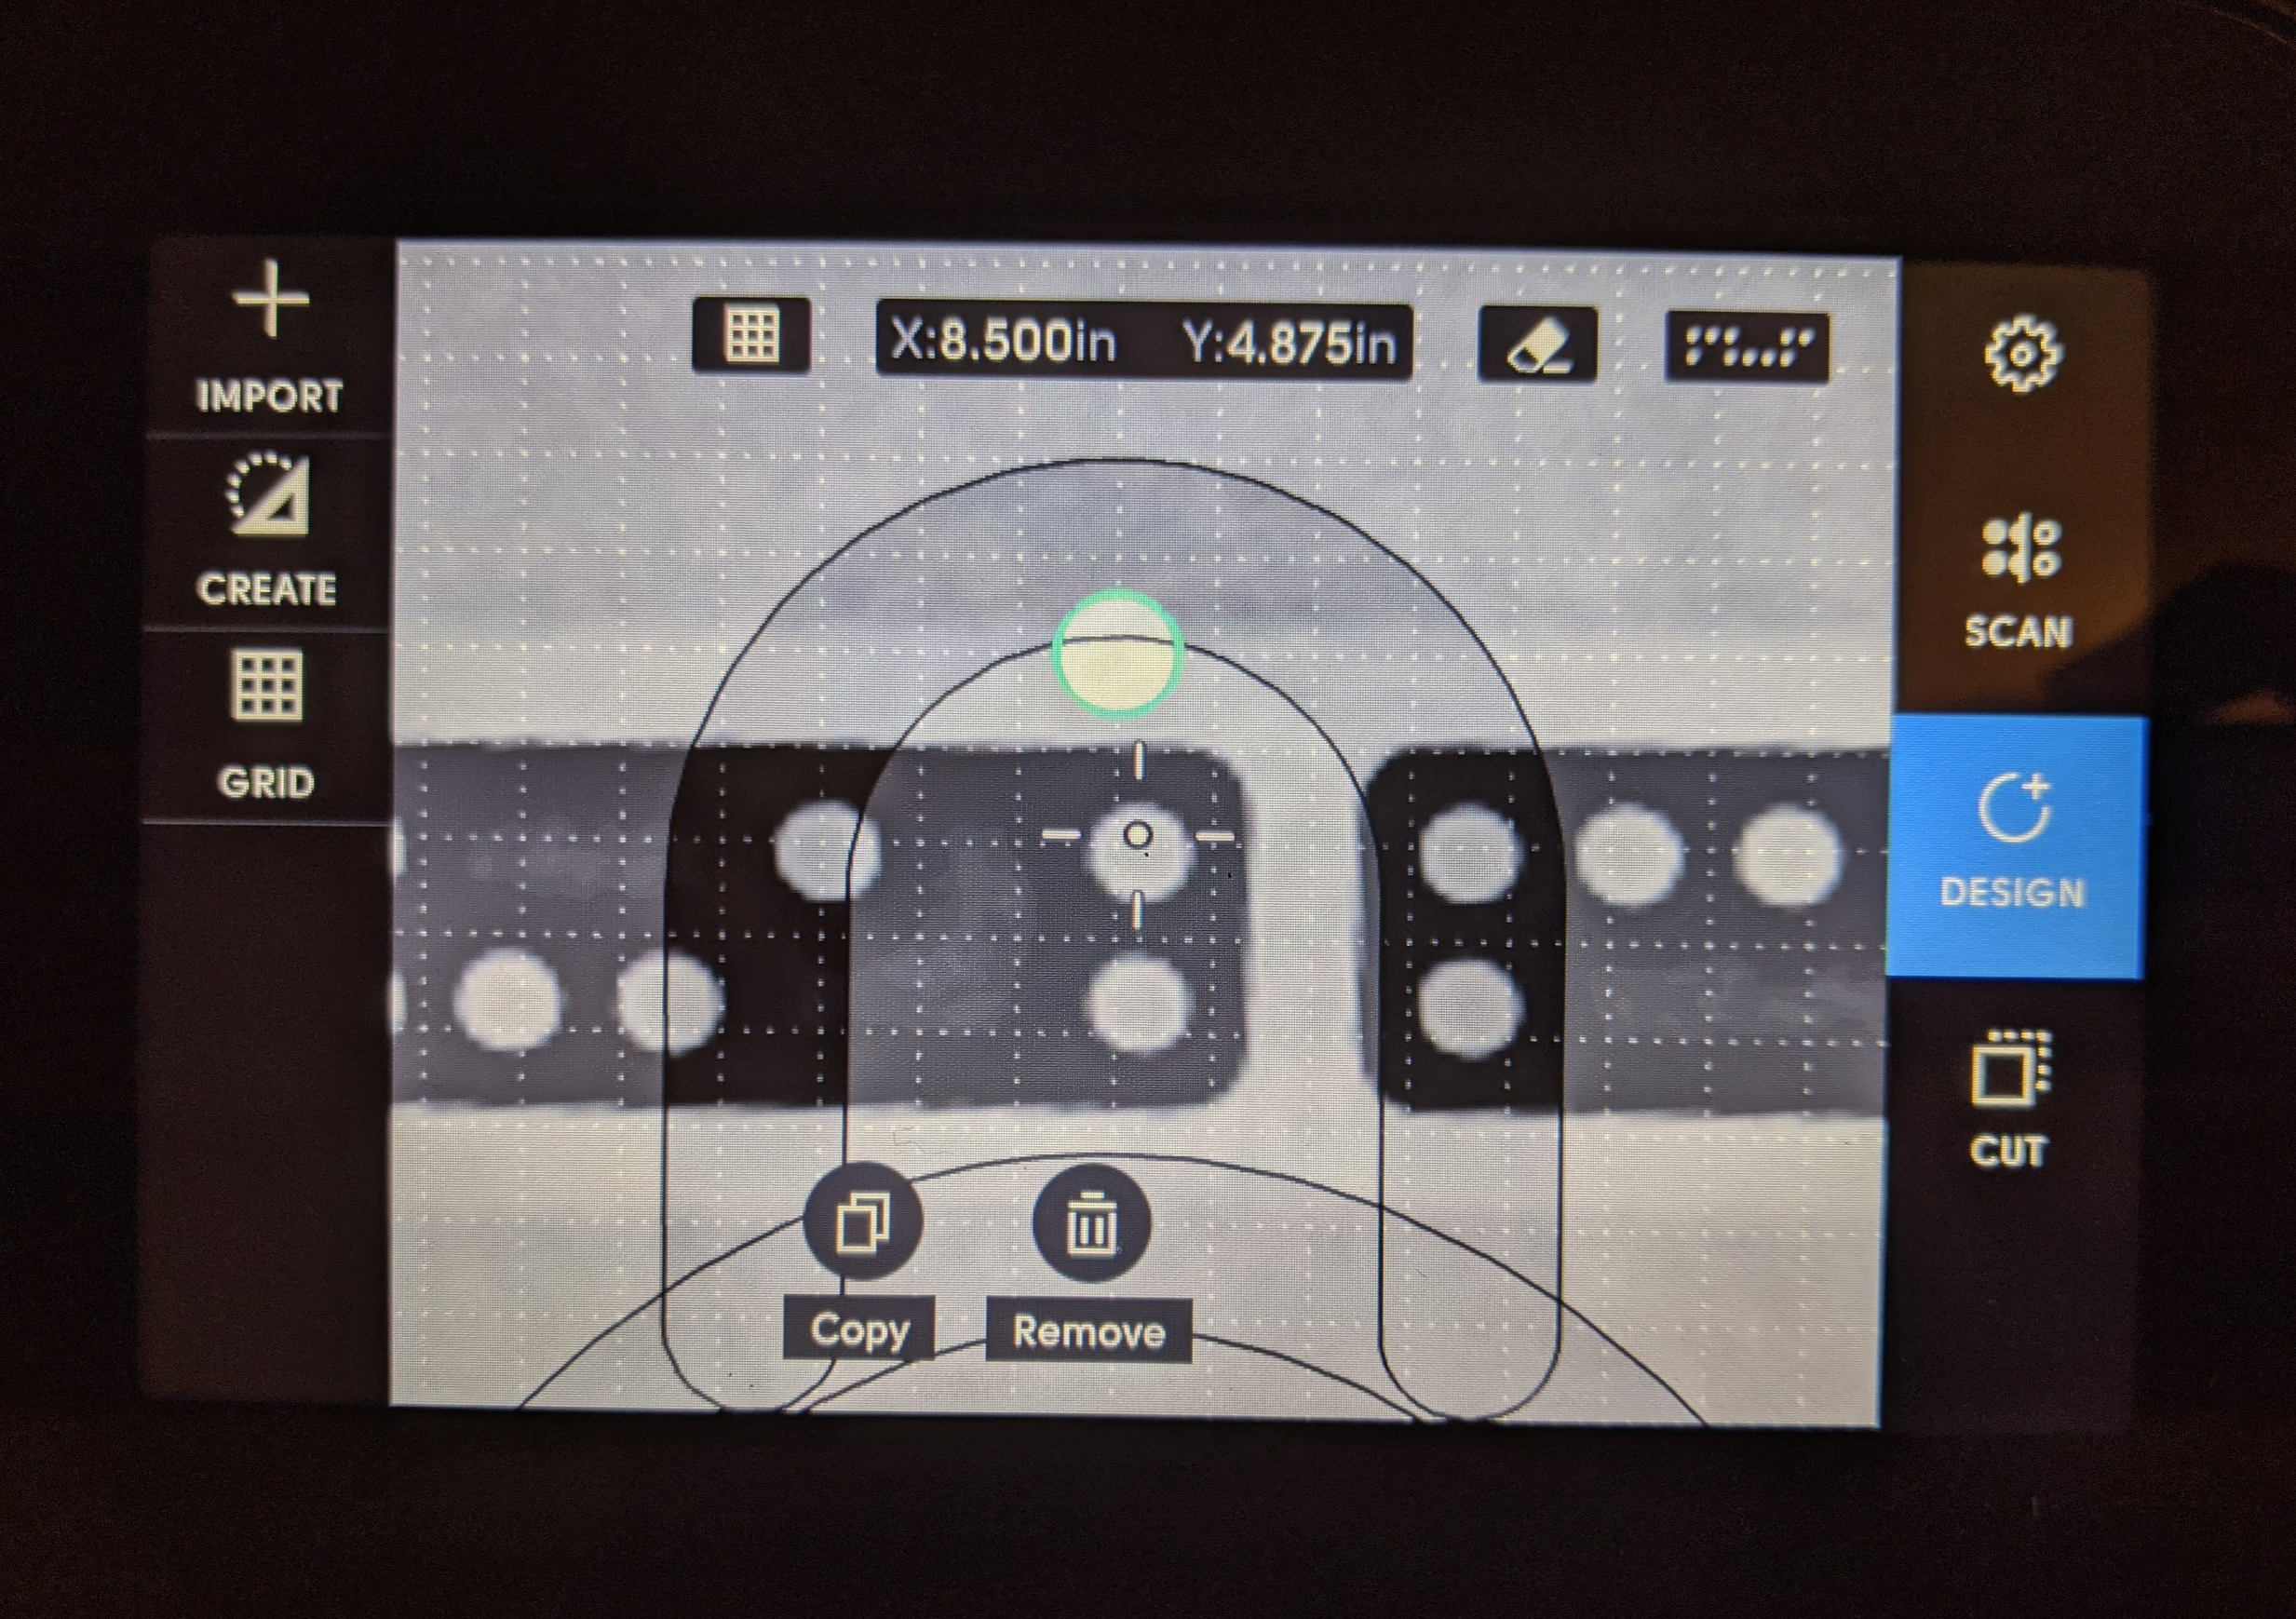
- Copy the 5in Christmas light and the 4mm circle to make 28 Christmas lights.
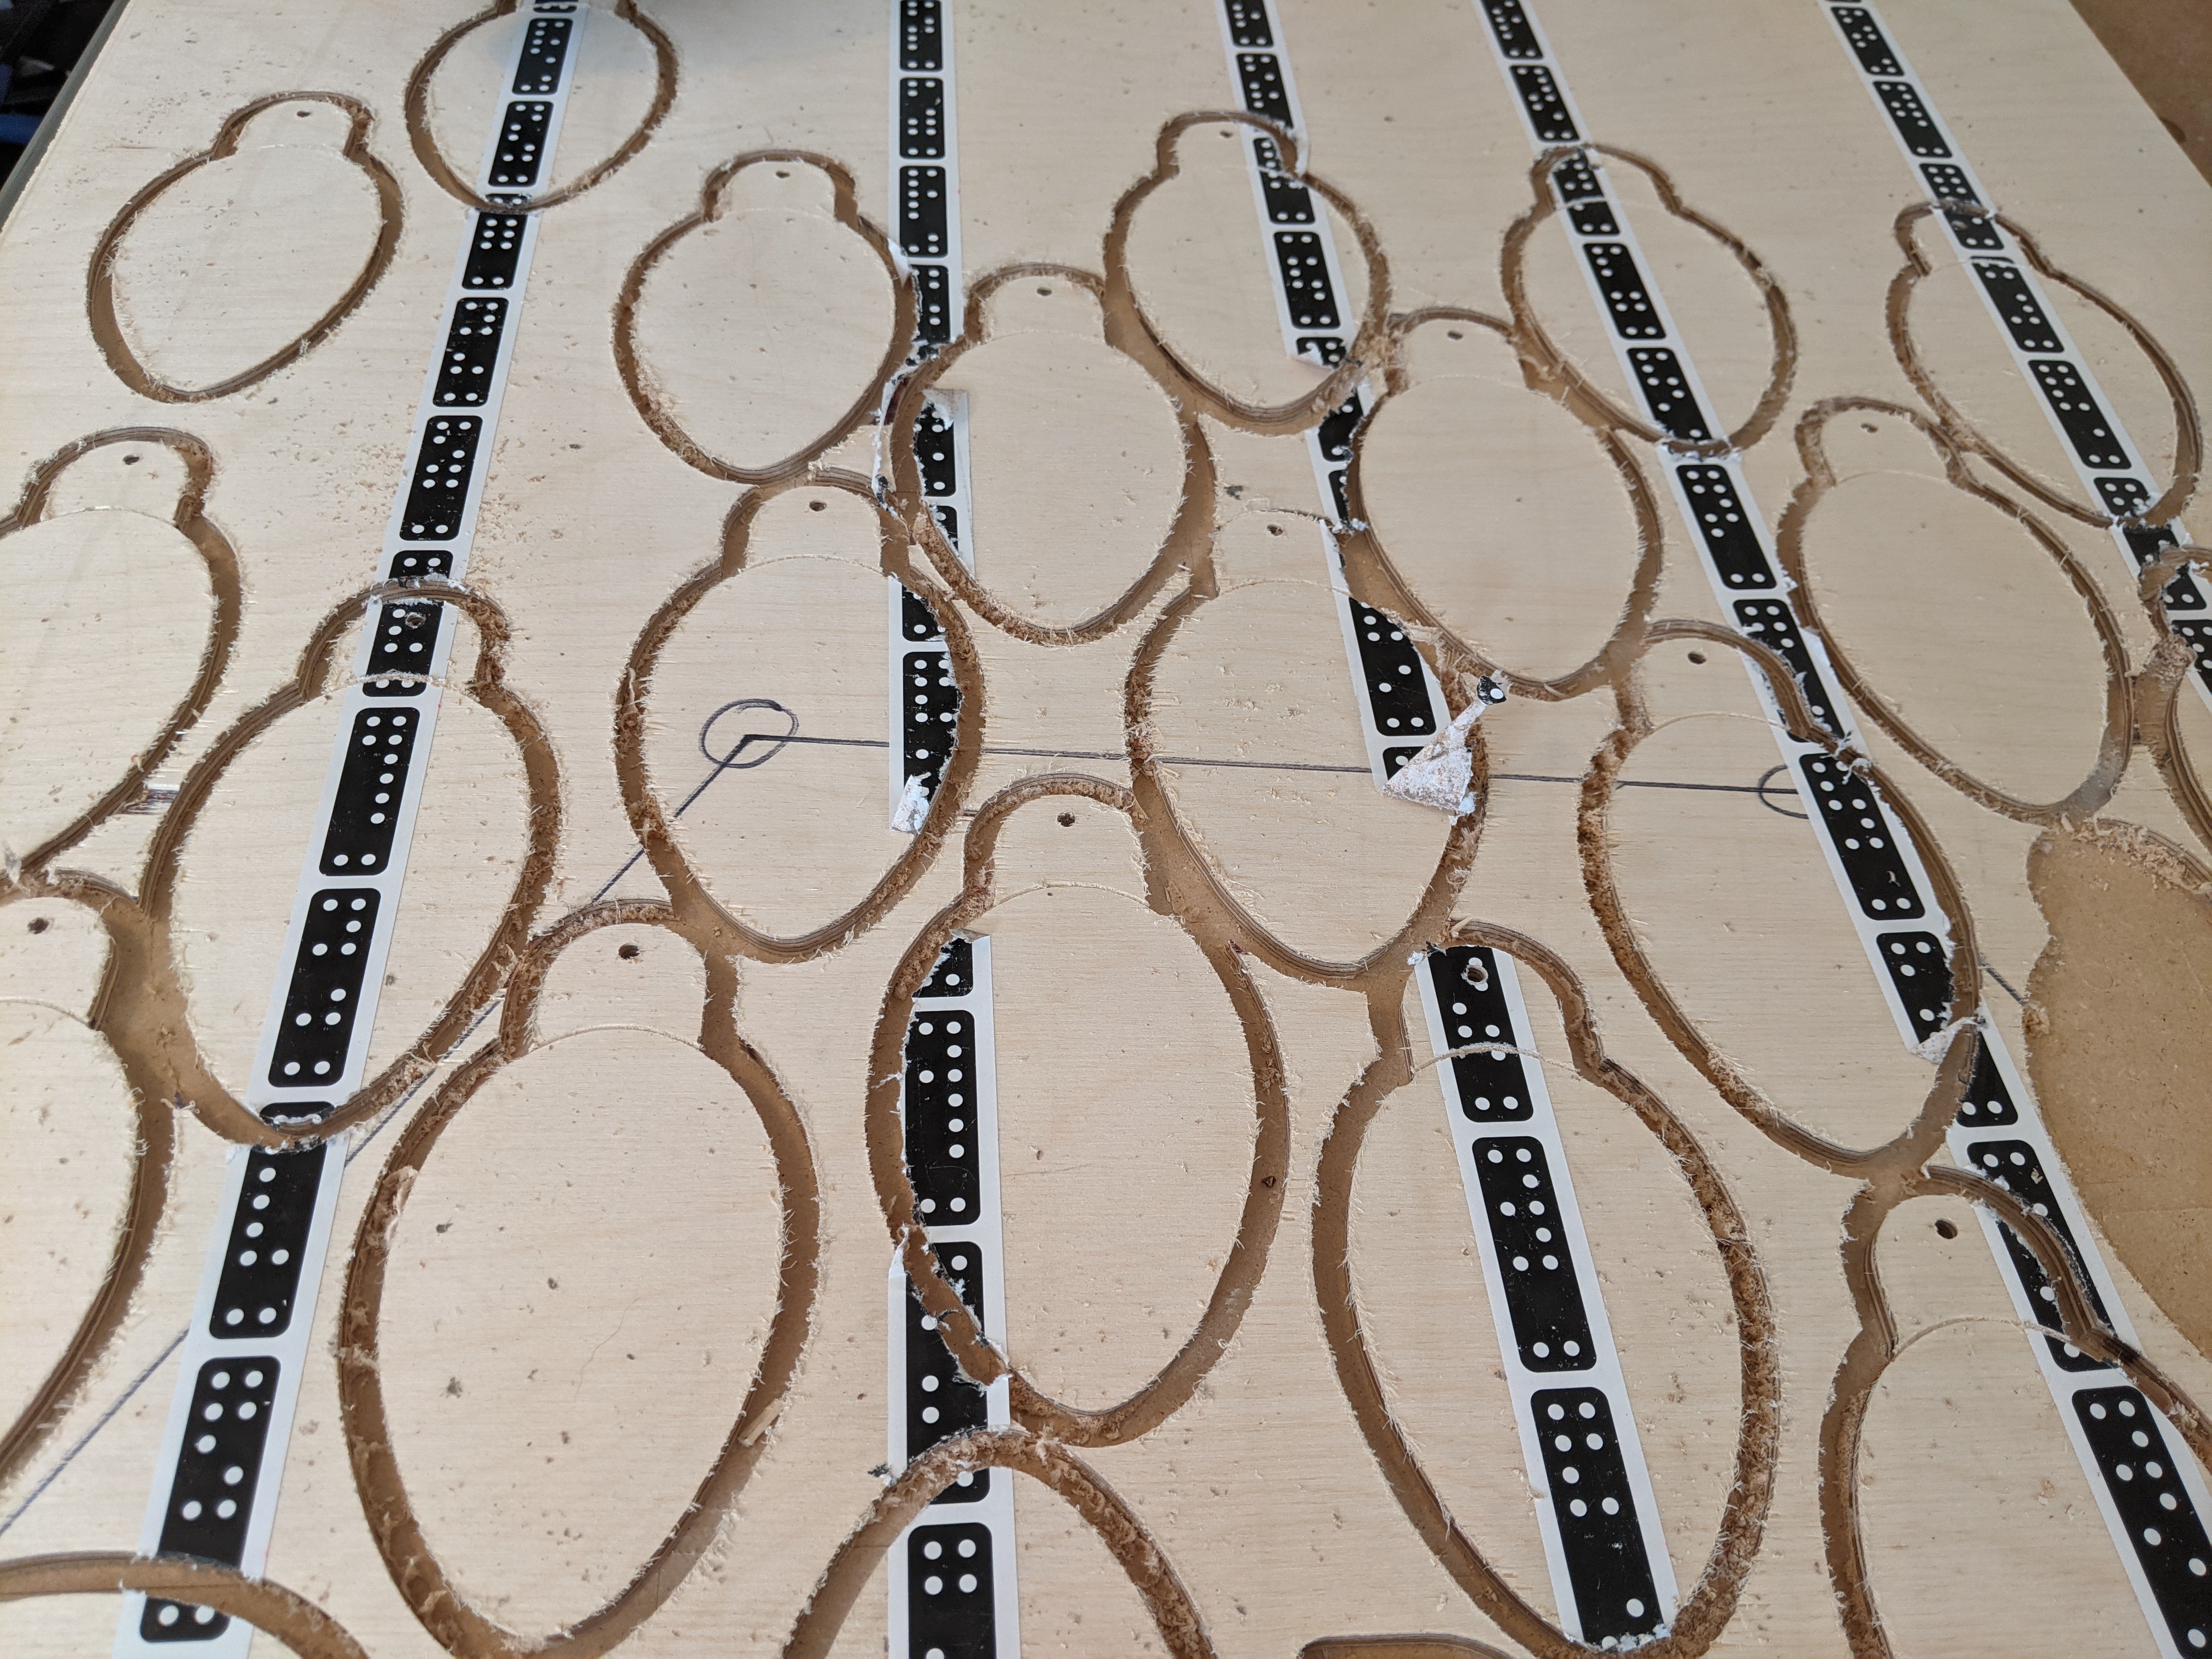
- Cut out one row of Christmas lights at a time, a strategy I used to balance 1) minimizing the number of times bits are getting exchanged, and 2) being mindful to ensure enough Shaper Tape is undisturbed and can be recognized by Origin.
- Cut the outline of the Christmas light with a 1/4in upcut bit, cutting along the outside of outermost cap and bulb cut paths. Start at the right side of the cap (when looking at the bulb hanging downwards with the cap on top), cut around the cap counterclockwise, then select the outermost line of the bulb, and cut around the bulb, until you reach where you started cutting the cap. I ignored some of the cut paths - the illumination marks and inner paths of the bulb - for this project.
- Engrave the top of the bulb to separate it from the bulb’s cap, using the outside cut path type.
- Cut the inside path of the 4mm circle with a 1/8in upcut bit.
- After all cutting is complete, sand the edges of each Christmas light cutout.
- Paint the top surface with white paint to serve as a primer - two to three coats.
- Paint the sides black - three coats.
- Paint the bulb cap silver cap, also painting the engraved line visual separator - three coats.
- Paint equal number of each colored bulb - three coats. In my case, I painted seven of each of the four colors - red, yellow, green, and blue, painting one color at a time.
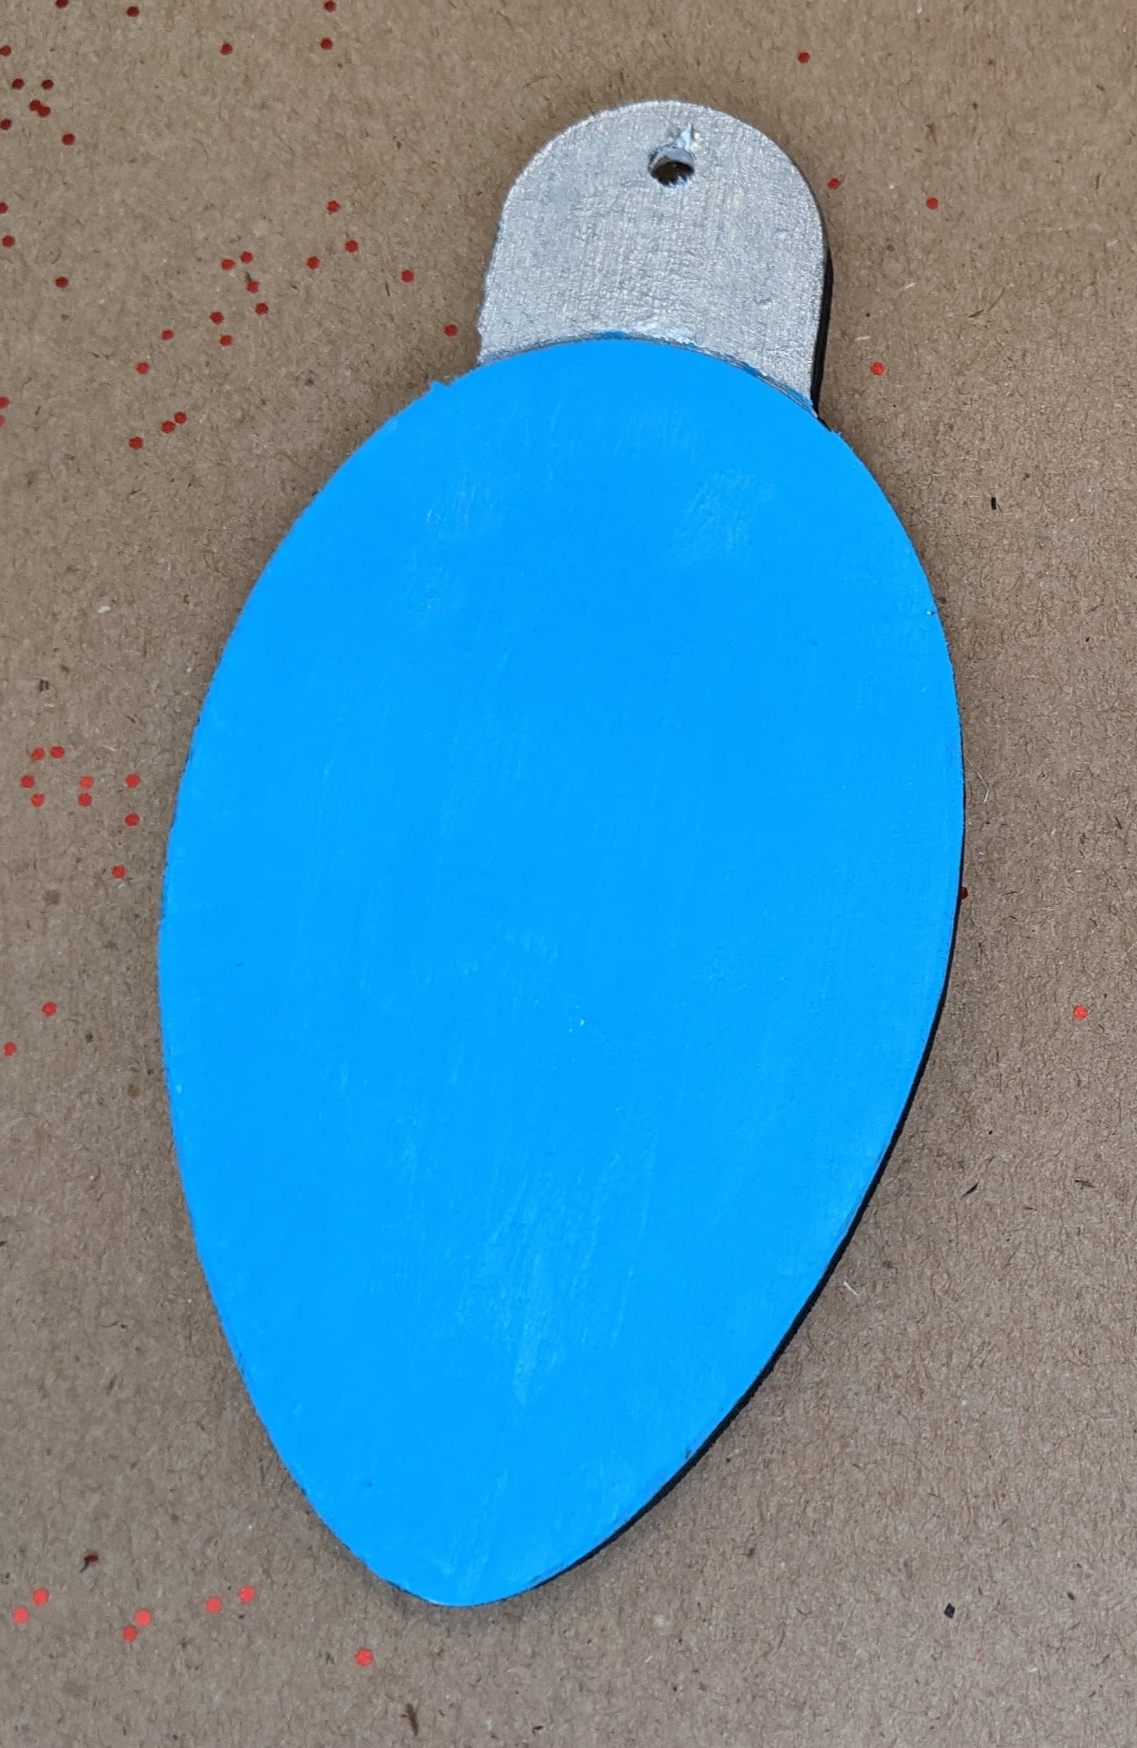
- Add glitter to bulb - I did these steps one color at a time, as to minimize cross contamination of the different glitter colors. My workbench was large enough for me to set completed bulbs off to the side so I could complete each step for each color in rapid succession.
- Paint over the colored bulbs with Super Gloss Mod Podge, ensuring the entire bulb surface is covered.
- Over a small plate to catch the glitter, heavily sprinkle the matching colored glitter.
- Let sit for a few minutes before lifting up Christmas lights to remove any loose glitter.
- Set aside for four hours, or overnight.
- Ensure all loose glitter has been removed by gently hitting the side of each cutout gently on the workbench.
- Spoon out Mod Podge into a tray, and work from, as to not get any glitter from the paint brush into the Mod Podge container. Paint over the glitter with Super Gloss Mod Podge.
- Allow to sit overnight. Super Gloss Mod Podge’s label states that this compound cures in 4 weeks. I’ve been successful in completing this project the next day, without issues when handling my cutouts and will wait to pack these decorations up at least until the cure date.
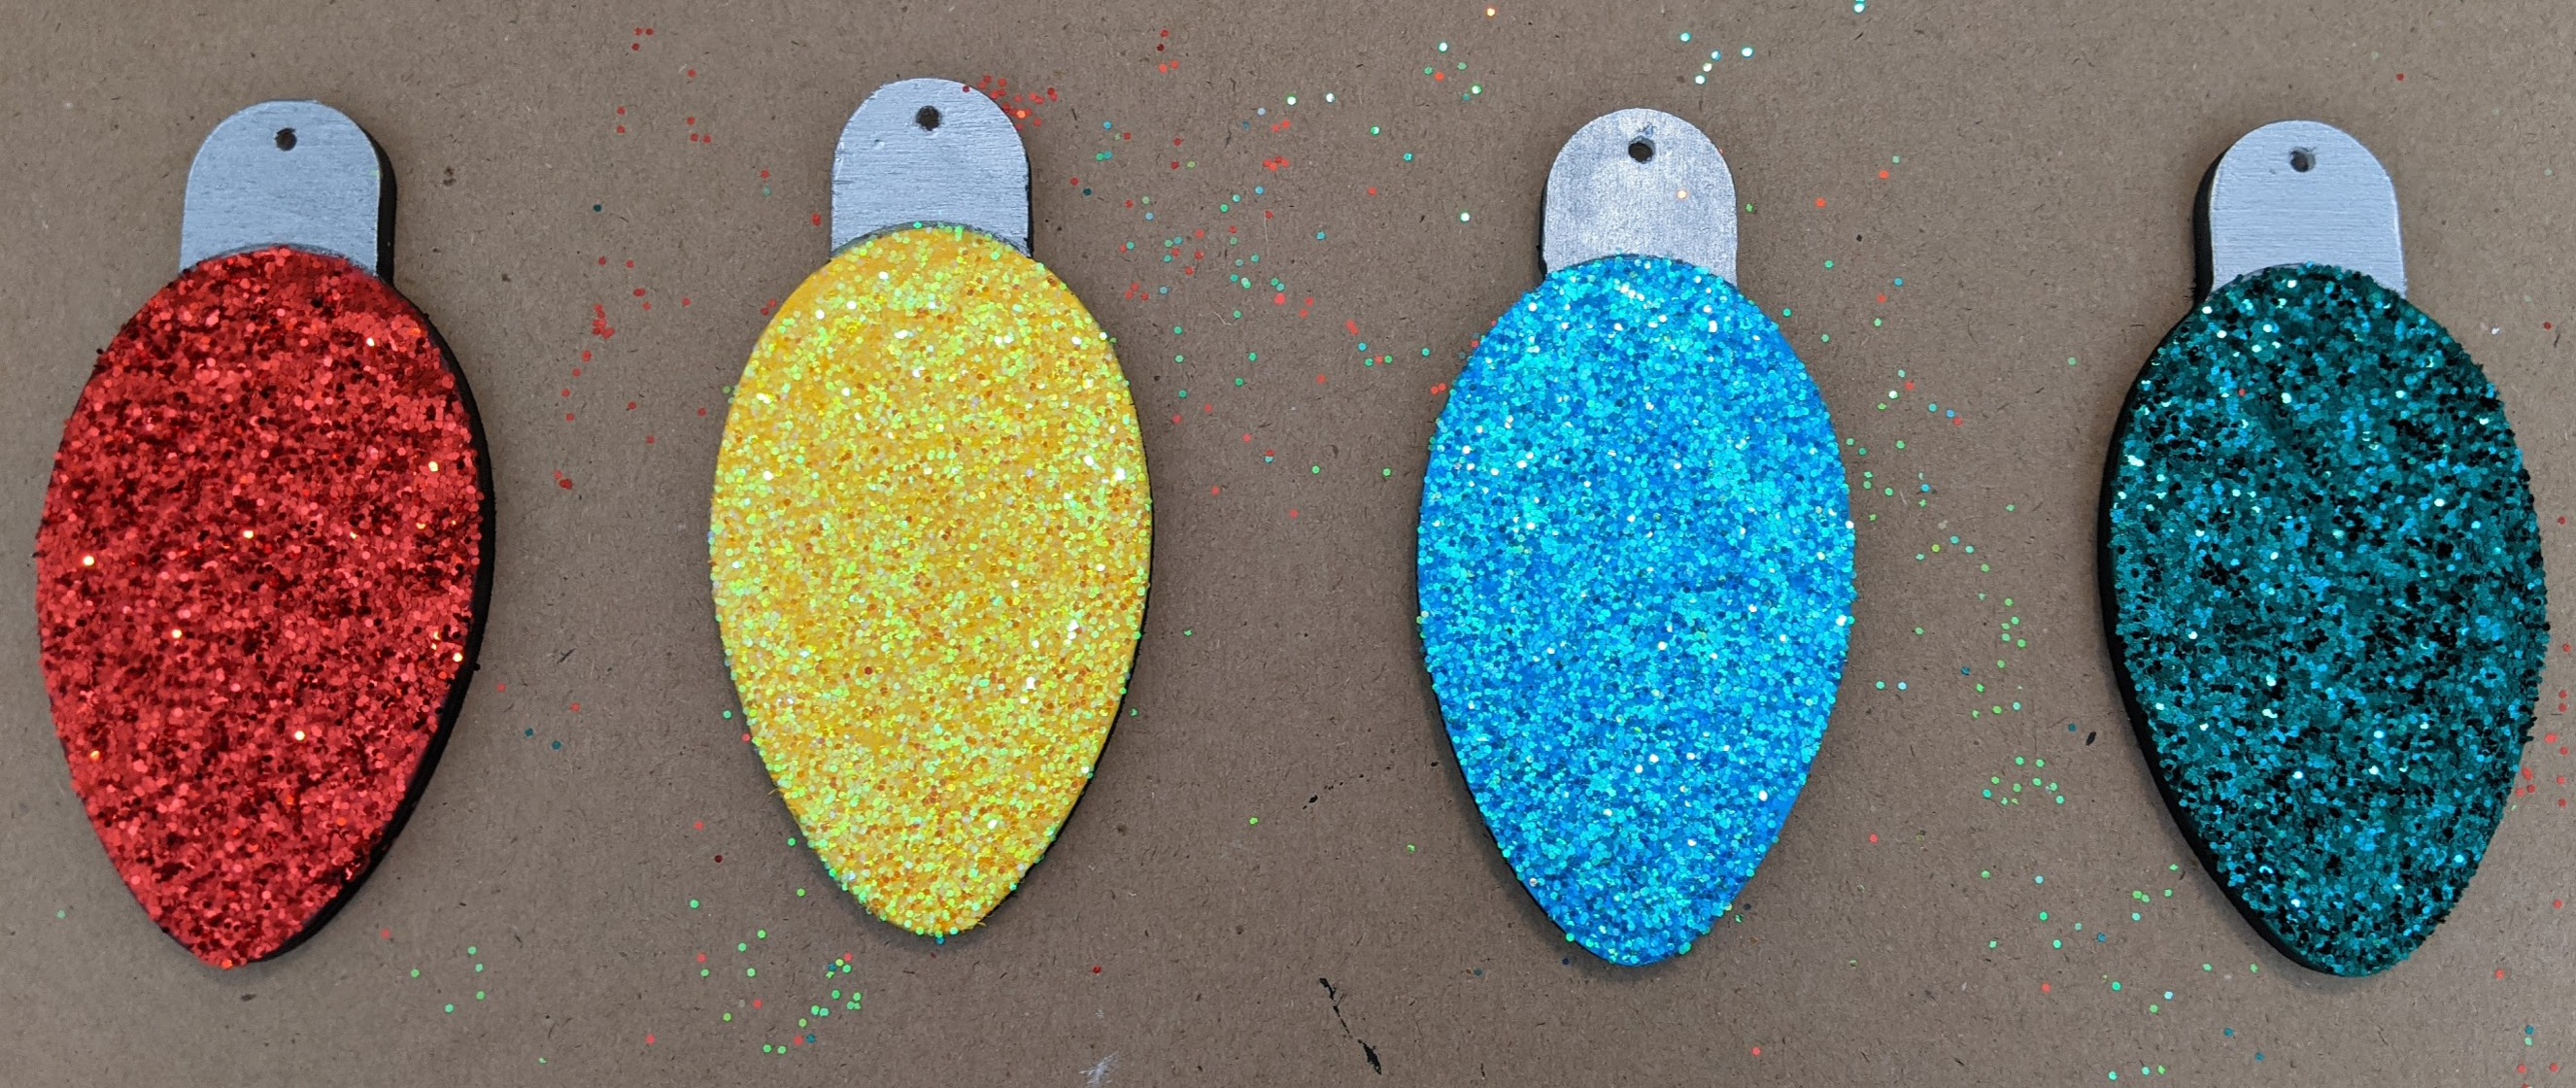
- String together! I chose 2mm twine, approximately 14cm spacing between Christmas lights, and the color order of: yellow, red, blue, green.

Reflections
- I am proud of the result, and I’m considering other designs, like gingerbread people and snow people, for future Christmas garland projects.
- I was very happy with how well the Super Gloss Mod Podge sealed in the glitter, and still allows the glitter to shine.
- Next time, I’ll edit the SVG file so that my cutting workflow is more straightforward and I don’t need to remember to jump cutting paths. Because when I forgot to jump cutting paths, this happened:
